
Unlock Your Perfect Manicure: The Ultimate Guide to Flawless Press-On Acrylic Nails!
Press-on acrylic nails have taken the beauty world by storm, emerging as a trendy and convenient alternative to traditional salon manicures. With their ability to provide a polished look in a fraction of the time and cost, it's no wonder that they have become a go-to choice for many. This guide aims to equip you with all the knowledge you need to apply, style, and maintain beautiful press-on acrylic nails effortlessly. Whether you're a busy professional or a nail art enthusiast, mastering the art of press-on nails will elevate your manicure game and save you precious time.
Understanding Press-On Acrylic Nails
Press-on acrylic nails are pre-designed nail extensions that can be applied without the need for extensive salon procedures. Unlike traditional acrylic nails, which are created by applying a mixture of liquid and powder directly onto your natural nails, press-on nails are made in advance and come in various styles and shapes. Typically crafted from high-quality plastic or acrylic materials, they offer durability and a polished finish. The manufacturing process often involves intricate designs and colors that are ready to wear, making them an appealing option for those who want to change their look frequently. This innovation has made press-on nails not only more accessible but also a fun way to express personal style without the commitment of a traditional manicure.
How to Apply Press-On Acrylic Nails
Applying press-on acrylic nails is a straightforward process that can be done at home. Here’s a step-by-step guide to ensure a flawless application:
- Preparation: Start by cleaning your natural nails. Use a gentle nail polish remover to eliminate any residue or oils. Trim and file your nails for a smooth base.
- Size Selection: Choose the right size for each nail. Most press-on kits come with multiple sizes; try them on to find the perfect fit for each finger.
- Application: Apply a thin layer of nail glue to the back of the press-on nail and to your natural nail. Press the acrylic nail onto your natural nail, holding it in place for about 10-15 seconds.
- Final Touches: Once all nails are applied, you can file the edges for a more natural look or add additional polish for a custom finish.
Make sure to follow these steps carefully to achieve a neat and professional appearance. With practice, you’ll become a pro at applying them in no time!
Tips for a Flawless Application
To enhance your press-on nail application, consider these handy tips: use a quality nail glue to ensure longevity, avoid applying too much glue to prevent air bubbles, and align the press-on nail properly with your cuticle for a seamless look. Additionally, taking your time during application will yield the best results.
Styling Your Press-On Acrylic Nails
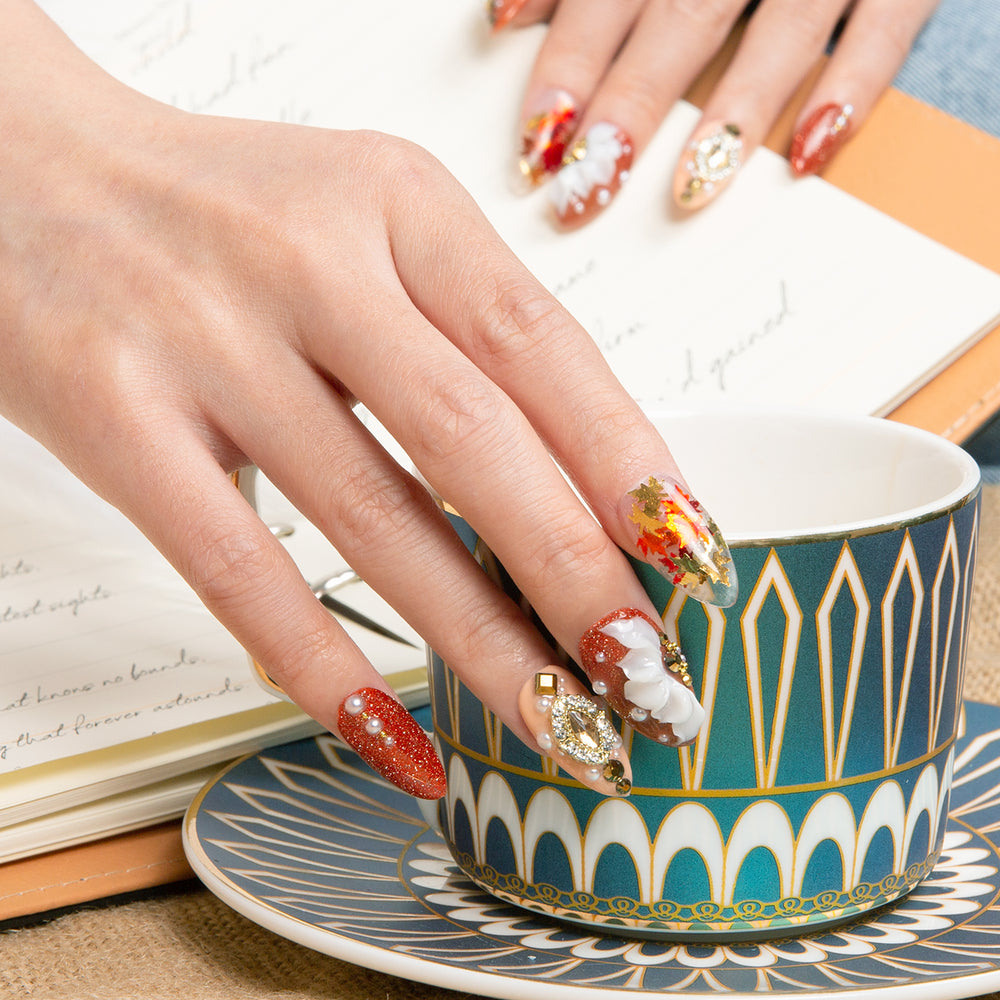
Press-on acrylic nails come in a myriad of styles, colors, and finishes, making them a versatile accessory to any outfit. You can opt for classic solid colors, trendy ombre designs, or even intricate nail art that showcases your personality. Ideas for customization include adding stickers, rhinestones, or even hand-painted designs if you feel creative. For a cohesive look, consider matching your nail color to your outfit or the occasion; for instance, soft pastels for spring events or bold hues for a night out. Remember, the only limit is your imagination!
Maintaining Your Press-On Acrylic Nails
To ensure your press-on acrylic nails last as long as possible, proper maintenance is essential. First, avoid exposing your nails to excessive water or harsh chemicals which can weaken the adhesive. Clean your nails gently with mild soap and water, and consider using a nail brush for deeper cleaning. If you notice any lifting or wear, it’s best to replace the nails to maintain a polished look. Generally, press-on nails can last up to a week or more depending on how well you care for them, but if they start to feel loose, it’s time for a refresh!
Enjoy Beautiful Press-On Nails at Home
In summary, press-on acrylic nails offer an easy and stylish way to achieve a salon-quality manicure at home. With the right application techniques, styling ideas, and maintenance tips, you can enjoy beautiful nails that reflect your personal style. Don’t hesitate to experiment with different designs and colors, and remember that practice makes perfect. So gather your supplies, unleash your creativity, and enjoy the world of press-on nails!