Say Goodbye to Fake Nails: The Ultimate Guide to Safe and Easy Removal at Home!
Fake nails have become increasingly popular in recent years, allowing individuals to express their style and creativity. However, there comes a time when those glamorous nails need to be removed, whether due to growth, damage, or simply a change in preference. It's crucial to remove fake nails safely at home to avoid compromising the health of your natural nails. This guide will walk you through effective and straightforward methods to remove acrylics, gels, and press-ons without causing damage. With the right approach, you can say goodbye to fake nails and hello to healthier, more beautiful natural nails!
Understanding Fake Nails
Fake nails come in various types, each with its unique application and removal process. Acrylic nails are created by mixing a liquid and powder that hardens into a durable, long-lasting finish. Gel nails, on the other hand, are made from a gel substance that is cured under a UV light, providing a glossy and flexible finish. Press-on nails are the easiest to apply and remove, as they come pre-shaped and require minimal effort to attach. Understanding these different types is essential because improper removal can lead to weak, brittle, or damaged natural nails. Therefore, taking the time to learn how to safely remove fake nails at home is vital for maintaining nail health.
Preparing for Removal
Before diving into the removal process, it's important to prepare adequately. Start by gathering the necessary supplies: acetone or a nail polish remover, cotton balls, a nail file, and a wooden stick or cuticle pusher. Ensure your workspace is clean and well-lit, and consider laying down a towel to catch any debris. Protecting the surrounding skin is also important; you can apply a thin layer of petroleum jelly around your cuticles to prevent irritation. Taking these steps will help make the removal process smoother and more effective.
Step-by-Step Guide to Removing Fake Nails
Now that you're prepared, let's go through the step-by-step process for safely removing each type of fake nail.
Removing Acrylic Nails
To remove acrylic nails, start by using a nail file to gently file the top layer of the acrylic. This helps the acetone penetrate better. Soak a cotton ball in acetone and place it on the nail, securing it with aluminum foil to keep it in place. Leave it on for about 20-30 minutes. Afterward, check if the acrylic is soft enough to push off with a wooden stick. If it is still hard, re-soak and repeat the process. Be patient, as rushing can lead to damage. Once all the acrylic is removed, wash your hands thoroughly to remove any residue.
Removing Gel Nails
For gel nails, the process is similar to acrylics but requires a bit more finesse. Begin by lightly buffing the surface of the gel to break the seal. Soak a cotton ball in acetone and place it on the nail, securing it with foil. Allow it to soak for about 20 minutes. Check if the gel has lifted; if not, give it more time. When ready, gently push the gel off with a wooden stick. If you feel resistance, avoid force and soak longer. After removal, wash your nails and apply a nourishing oil to replenish moisture.
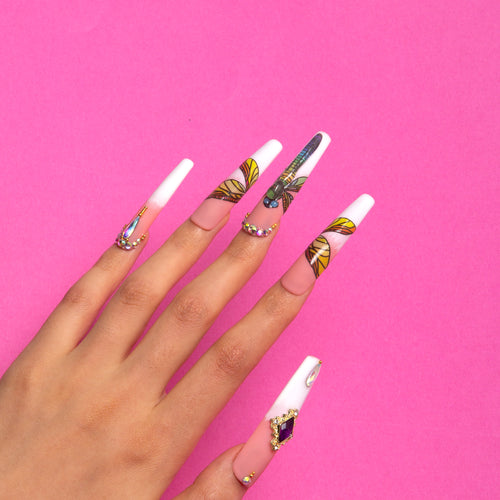
Removing Press-On Nails
Press-on nails are the easiest to remove. Start by gently lifting the edges using your fingers or a wooden stick. If you encounter resistance, soak a cotton ball in warm, soapy water and hold it against the nail for a few minutes to loosen the adhesive. Once the press-ons are soft, they should come off easily. After removal, wash your hands and ensure no adhesive remains on your natural nails.
Aftercare for Natural Nails
After successfully removing your fake nails, it’s essential to care for your natural nails. They may be weak or dehydrated after the process, so moisturizing is key. Consider applying a nourishing cuticle oil or hand cream to help restore moisture and strength. Regularly trimming your nails and using a strengthening base coat can also aid recovery. Taking the time for aftercare will ensure your natural nails remain healthy and ready for your next manicure.
Maintaining Healthy Natural Nails After Removal
Removing fake nails at home doesn’t have to be a daunting task. By following the guidelines outlined in this guide, you can safely and effectively remove acrylics, gels, and press-ons without damaging your natural nails. Remember to take your time during the removal process and prioritize aftercare to keep your nails healthy and strong. Embrace the beauty of your natural nails and enjoy the freedom of switching between styles!